In today’s interconnected world, email remains a pivotal communication tool for businesses and individuals alike. With the increasing emphasis on security and deliverability, understanding the nuances of email authentication has become paramount. Amazon Simple Email Service (SES) offers a robust platform for sending emails, but to truly harness its potential, one must be adept at configuring SPF and DKIM records. This comprehensive guide is designed to walk you through the intricacies of SPF and DKIM setup for Amazon SES, ensuring that your emails not only reach their intended recipients but also maintain the highest standards of security and authenticity. Let’s embark on this journey to email mastery together!
The importance of email authentication
Email authentication serves as the gatekeeper, ensuring that the emails we receive are from legitimate sources and not malicious actors trying to deceive us. In the absence of proper authentication, our inboxes could be flooded with phishing attempts, spam, and other unwanted messages.
More than just a filter, email authentication provides a layer of trust, assuring recipients that the message they’ve received is genuine and hasn’t been tampered with during transit. For businesses, this trust is invaluable, ensuring that their communications are received and perceived with credibility by their clients and partners.
Overview of SPF (Sender Policy Framework)
SPF, or Sender Policy Framework, is one of the primary methods used in email authentication. At its core, SPF allows email domain owners to specify which mail servers are permitted to send emails on their behalf. When an email is received, the receiving server checks the SPF record of the sending domain to determine if the email comes from an authorized server. If the check passes, the email is accepted; if not, it can be flagged or rejected. By implementing SPF, domain owners can significantly reduce the chances of their domain being used for phishing or spam, ensuring that their emails are both trusted and delivered efficiently.
Default MAIL FROM domain in Amazon SES
When you start with Amazon SES, it doesn’t immediately use your domain for the MAIL FROM address. Instead, it uses a default MAIL FROM domain that ends in “amazonses.com.” This default setup ensures that your emails are compliant with the SPF policy of the sending domain. However, for a more professional appearance and to align with your domain, Amazon SES allows you to set a custom MAIL FROM domain. This customization requires you to publish an SPF record in your domain’s DNS settings, indicating that Amazon SES has permission to send emails on your domain’s behalf.
How Amazon SES Validates Emails Using SPF
Amazon SES uses the SPF protocol to validate outgoing emails, ensuring they originate from an authorized server. When you send an email through Amazon SES, the service checks the SPF record of the sending domain. If the SPF record includes Amazon SES as an authorized sender, the email is sent. If not, the email might be flagged or even rejected by the receiving server. This validation process is crucial in maintaining the reputation of your domain and ensuring high deliverability rates.
The Connection Between Amazon SES and amazonses.com Subdomain
The “amazonses.com” subdomain plays a pivotal role in Amazon SES’s email sending mechanism, especially for those who haven’t set up a custom MAIL FROM domain. Emails sent using the default configuration have their MAIL FROM domain set to a subdomain of “amazonses.com.” This setup ensures that the emails comply with SPF policies right out of the box. However, as mentioned earlier, for better branding and trustworthiness, it’s recommended to set up a custom MAIL FROM domain. Even after this setup, the “amazonses.com” subdomain continues to play a role in the email headers, acting as a sign that the email was routed through Amazon’s SES infrastructure.
Customizing MAIL FROM domain in SES
Amazon Simple Email Service (SES) offers flexibility in how emails appear to recipients. One of the customization options available is the ability to set a custom MAIL FROM domain. This feature allows businesses to present a consistent brand image and enhance the trustworthiness of their emails. Let’s explore this in more detail.
The Concept of Custom MAIL FROM Domain in SES
By default, Amazon SES uses its domain (amazonses.com) as the MAIL FROM domain. However, SES allows users to replace this default with their domain. This custom domain is what email recipients see in the “From” address, making it essential for branding and trust. When you use a custom MAIL FROM domain, you’re telling recipients that the email they’ve received is directly from your organization, even though it’s been routed through Amazon SES.
Steps to Set Up a Custom MAIL FROM Domain
1. Choose Your Domain. Decide on the domain you want to use as your custom MAIL FROM domain. This should ideally be the same as or related to your primary business domain.
2. Verify Your Domain with SES. Before you can use your domain with SES, you need to verify it. This process involves adding specific DNS records to prove you own the domain.
3. Update SPF Records. Add Amazon SES to your domain’s SPF record. This step authorizes SES to send emails on your domain’s behalf.
An example SPF record might look like:
v=spf1 include:amazonses.com ~all.
4. Configure SES to Use Custom MAIL FROM Domain. In the Amazon SES console, navigate to the domains section, select your domain, and then choose the option to set a custom MAIL FROM domain.
5. Test the Configuration. After setting up, send a test email to ensure that the custom MAIL FROM domain is displayed correctly and that the email is delivered without issues.
Remember, while setting up a custom MAIL FROM domain enhances your email’s appearance and trustworthiness, it’s essential to monitor your domain’s reputation and maintain best email sending practices to ensure optimal deliverability.
Configuring SPF and MX Records for Custom Domains
1. SPF Record Configuration. To authorize Amazon SES (or any other email service) to send emails on your domain’s behalf, you’ll need to add them to your SPF record.
For Amazon SES, your SPF record might look something like this:
v=spf1 include:amazonses.com ~all.
2. MX Record Configuration. While MX (Mail Exchange) records are primarily for receiving emails, they need to be correctly set up to ensure that your domain can receive bounce-back and feedback notifications. The exact configuration will depend on your hosting provider and email service.
Ensuring Successful SPF Authentication for Custom Domains
◾ Consistent SPF Records. Ensure that all your email sending services are listed in your SPF record. If you use multiple services, each one needs to be included.
◾ Limit the Number of Lookups. SPF records have a limit on the number of DNS lookups (usually 10). Ensure you don’t exceed this limit, or some of your email services might not be authenticated.
◾ Test Your SPF Record. Use online SPF testing tools to verify that your SPF record is correctly set up. These tools can check for syntax errors and ensure that all necessary services are included.
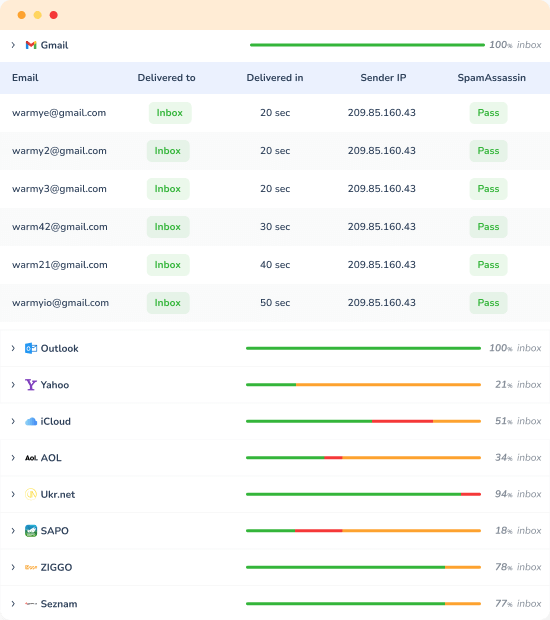
You can use Warmy’s Email deliverability test for this. Also, you will see full and deep information about your email deliverability, blacklist etc.

How to set up DKIM for Amazon SES
DomainKeys Identified Mail (DKIM) is an email authentication method that allows the receiver to check if an email was indeed sent and authorized by the owner of that domain. It achieves this by providing a digital signature in the email headers. When using Amazon Simple Email Service (SES), setting up DKIM is crucial to enhance email deliverability and trustworthiness.
Here's a step-by-step guide on how to set up DKIM for Amazon SES:
1. Log in to the Amazon SES Console.
2. Navigate to the Amazon SES console on your AWS account. Choose a Verified Domain
3. In the navigation pane, under “Identity Management”, click on “Domains”. Choose the domain for which you want to set up DKIM.
4. Enable DKIM.
5. In the domain details section, find the “DKIM” option.
Click on “Generate DKIM Settings” or “Enable DKIM”. This action will generate a set of three DKIM CNAME records specific to your domain.
6. Add the DKIM CNAME Records to Your DNS.
7. Once the DKIM settings are generated, you’ll see three CNAME records. These records need to be added to your domain’s DNS settings.
8. Log in to your domain’s DNS provider or hosting service.
9. Add each of the three CNAME records to your domain’s DNS settings. Ensure that you copy the values exactly as they appear in the Amazon SES console.
10. Verify DKIM Settings.
11. After adding the CNAME records, return to the Amazon SES console.
It might take some time (up to 72 hours) for the DNS changes to propagate. Once propagated, Amazon SES will automatically detect the DKIM CNAME records and verify them.
Once verified, the DKIM status for your domain in the SES console will change to “Verified”.
12. Send a Test Email.
After DKIM is set up and verified, send a test email from your domain using Amazon SES.
Check the email headers of the received email. You should see a DKIM signature that confirms the email was signed using DKIM.
Note: If you’re using Amazon SES with other AWS services like Amazon Pinpoint or AWS Lambda, ensure that those services are also correctly configured to use DKIM.

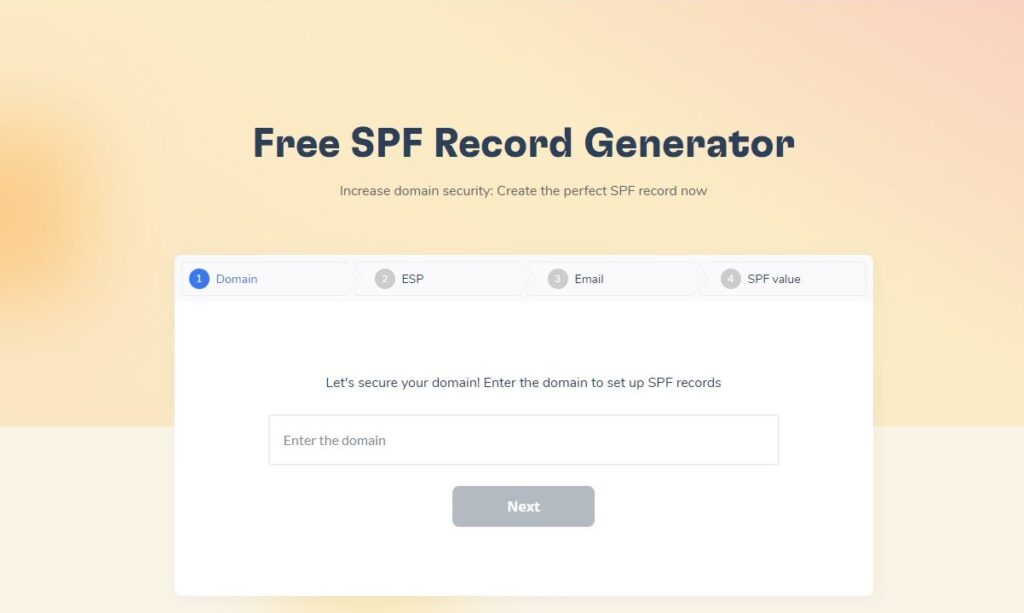
Maximize your email deliverability with ease! Warmy invites you to experience our Free SPF Record Generator. Protect your domain and increase trust with ISPs by crafting the perfect SPF record in just a few clicks. Ready to ensure your emails land in the right inbox? Visit Free SPF Record Generator and secure your email communication for free!
Conclusion
Navigating the intricacies of email authentication can seem daunting, but with the right knowledge and tools, it becomes a manageable and rewarding endeavor. As we’ve explored in this comprehensive guide, setting up SPF and DKIM for Amazon SES is not just a technical requirement but a strategic move. Happy emailing!


