Let us give you a scenario: You spend hours designing your emails. You’re excited to send out your email campaigns. Then you find out they are no longer landing in inboxes. Instead, they’re most likely being sent to the dreaded spam folder—every email marketer’s nightmare. This is a common indication that your email domain or IP address may have been blacklisted. It’s a digital red flag. Your means of communication have been compromised, and your messages give off the impression that they are potential threats or nuisances.
Navigating email blacklists requires a deep understanding of how blacklisting occurs, why it’s a major issue, and the systematic process needed to clear your name.
It’s not just about avoiding the spam folder. It’s about fixing your reputation and your ability to communicate the way you want.
In this article, we’ll walk you through the five crucial steps to remove your domain or IP from blacklists and prevent future occurrences, so your emails can once again reach their rightful destination—the inbox.
What is email blacklisting?
A domain is your digital storefront, and the IP address is its foundation. Your domain is your identity, and your IP address is the backbone. When either the domain or IP gets blacklisted, it’s like having a “Do not Enter” sign on your front door—and your messages are effectively blocked from reaching inboxes.
Domain blacklisting happens when your domain is flagged for sending spam-like content, while IP blacklisting occurs when your specific internet address is marked as a potential threat. This usually happens due to:
- High email volume: Sending too many emails too quickly can trigger spam filters.
- User complaints: If recipients frequently mark your emails as junk, your domain’s reputation suffers.
- Security breaches: Hackers may use your domain or IP to send spam without your knowledge.
Let’s talk about the impact. When blacklisted, your emails may land in spam folders or get blocked completely. This disrupts communication with clients, partners, and leads and can eventually smear your professional reputation. Over time, the trust you’ve built with your audience erodes with each email that doesn’t reach its target destination. This can then have a tangible effect on your bottom line.
The importance of blacklist removal
When your email domain or IP address is blacklisted, the digital pulse of your business communication begins to falter. That’s why the importance of removing yourself from such a list cannot be emphasized enough.
What are the implications of remaining blacklisted?
- Your emails are routinely blocked or sent to spam, silently corroding your client relationships and communications.
- The trust and credibility you’ve established with your audience starts to fade and in turn, damage your brand image.
- Your marketing efficiency falls off a cliff, reducing engagement and the likelihood of conversions, growing missed opportunities.
The necessity of blacklist removal
- Getting your email deliverability back up and running is the most important step in making sure your messages reach the individuals they were intended for.
- Blacklist removal is crucial so you can reestablish trust with email service providers, which will translate to trust with your clients and partners.
- Proactive delisting is a sign of good digital hygiene, as it demonstrates your commitment to security and to best practices.
Long-term benefits of delisting
- It strengthens the reliability and integrity of your email campaigns, paving the way for consistent inbox placement.
- A clean domain and IP reputation build trust with email providers and leads to better delivery rates.
- Delisting contributes to a positive sender reputation and brand image, which are crucial for long-term business success.
Gaining a deeper understanding of blacklist removal
The process of blacklist removal is essentially like clearing your name—meticulous, technical, but 100% necessary. If you’re aiming for success in the digital world, this is a process you cannot take for granted.
How IP blacklist removal works
Blacklist monitors keep tabs on email traffic and they use specific criteria to flag domains and IPs that exhibit spammy behavior. Delisting involves appealing to these monitors, demonstrating that you’ve addressed the issues and that your email practices comply with their standards.
We have prepared a comprehensive list of blacklists for you, along with articles detailing how to remove your domain or IP from each of them.
Full list of domain and IP blacklists
|
Name
|
Title
|
|---|---|
|
Uceprotectl3
|
|
|
Uceprotectl2
|
|
|
SORBS Spam blacklist
|
|
|
Truncate
|
|
|
SEM Fresh
|
|
|
SPFBL
|
|
|
Backscatterer
|
|
|
Spamhaus Zen
|
|
|
SURBL
|
|
|
RATS-Spam
|
|
|
Sorbs DUHL
|
|
|
Spamhaus DBL
|
|
|
Hotmail / Outlook
|
|
|
Barracuda
|
|
|
SpamCop
|
|
|
DNSBL
|
|
|
UCEPROTECTL1
|
|
|
Woody’s SMTP
|
|
|
DroneBL
|
The role of email service providers in delisting
Email service providers act as gatekeepers. They use these blacklists to decide who gets to send emails through their gates. They can be your ally in the delisting process, offering tools and support to help clear your domain or IP address and ensure your emails can finish their journey to their destinations.
Things to learn from blacklists
As frustrating as it may be when your domain or IP gets blacklisted, this scenario can be a learning experience. Here are the major takeaways businesses can learn from blacklists:
- Blacklists remind us of the importance of a clean IP and domain reputation. Think of your IP and domain reputation as your digital handshake—and your handshake needs to be firm and trustworthy.
- A clean reputation ensures your emails are welcome to land in inboxes. Take care of your reputation and how email servers and your audience perceive you.
- Blacklists teach us the pitfalls of negligent emailing. It’s about quality over quantity and relevance over mass distribution.
- Adopt practices like regular list cleaning, segmenting audiences, and personalizing content to maintain email health and effectiveness.
The 5 steps to delist your domain or IP
Step 1: Identify the blacklists and understand the reasons for being listed

Embarking on the journey of delisting starts with a crucial first step: identifying the blacklists where your domain or IP is flagged. You can’t fix something if you don’t know what the problem is. So it’s like diagnosing a problem before you can find the cure.
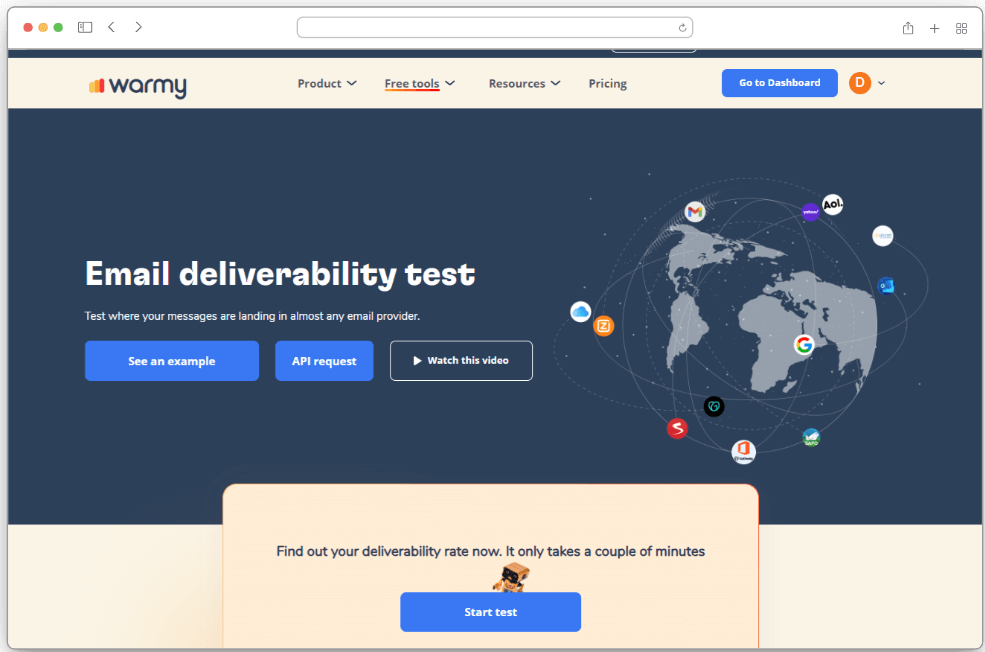
Try Warmy.io’s email deliverability test
Warmy.io offers a free email deliverability test that provides a comprehensive evaluation of these aspects. Warmy’s email deliverability test simulates real-world conditions to assess how well your emails perform. It checks key elements like sender authentication, content analysis, and engagement metrics. This helps in identifying potential issues that could cause your emails to be marked as spam or fail to reach the intended inbox.
The report also contains a wealth of valuable detail— including the performance of email deliverability across various providers, the status of your domain regarding any blacklists, and insights into your DNS records.


Step 2: Rectify the issues and strengthen your email infrastructure
Now, let’s say you’ve already pinpointed your presence on blacklists and diagnosed the reasons behind it. The next step involves a critical process: rectifying these issues and bolstering your email infrastructure. You can think of this phase as akin to repairing and reinforcing a ship’s hull before setting sail again in turbulent waters.
Here’s what this step can involve:
- If you’ve been flagged for spam-like behavior, it may involve scrutinizing your email content and ensuring it aligns with best practices. Ensure that your email content doesn’t trigger spam.
- In cases where volume is the issue, it’s about reevaluating your sending frequency and audience engagement strategies.
Simultaneously, strengthening your email infrastructure is crucial. This involves implementing robust authentication protocols like SPF, DKIM, and DMARC. They verify your email’s legitimacy and right to safe passage through the email ecosystem. It’s also about maintaining a clean and engaged email list, where each recipient has opted in and shown a clear interest in your communications. This proactive approach not only helps in delisting but it also safeguards your domain against future risks of blacklisting.

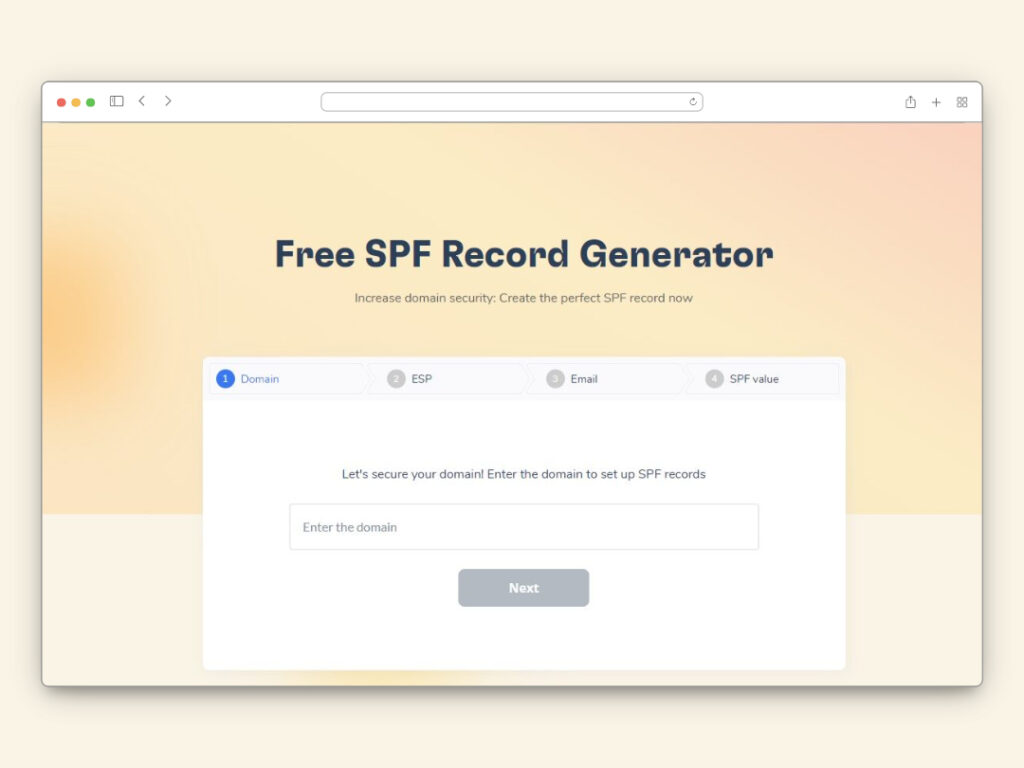
Hot tip: Use Warmy’s Free SPF Record Generator to help you create robust SPF records, preventing email spoofing and enhancing deliverability. Get started now and enjoy seamless, secure email sending at no cost.
Step 3: Contact the blacklists and request removal
In the critical third step of delisting from blacklists, engaging directly with blacklist administrators is essential. This process is basically a strategic negotiation, and it requires both clarity and diplomacy.
Gather contact information
Start by locating the contact details for each blacklist where your domain or IP appears. These are typically found on their official websites, often in the Contact page. Sometimes, they even provide a specific email address for delisting requests.
Craft your removal request
Your request must be professionally written. It should clearly state the issue and the corrective actions taken. Don’t forget to include the following:
- An acknowledgment of the reason you were blacklisted.
- A rundown of the detailed measures you’ve implemented to resolve the issues.
- A commitment to uphold best email practices in the future.
Hot tip: Support your request with relevant data or analytics that demonstrate the effectiveness of your corrective actions.
Follow-up process
Be prepared for a potential delay in response due to the high volume of requests blacklist administrators receive. While waiting, maintain a professional and patient stance. Follow up if necessary—but ensure your communication remains courteous and respectful.
Step 4: Follow up and negotiate delisting
Your persistence and negotiation skills will really be tested during this step. After all, following up with blacklist administrators and negotiating your delisting requires a delicate balance of assertiveness, authority, and diplomacy.
Here are some reminders that will be of help when you’re on this stage of the delisting process:
- Keep track of all your communications. Each follow-up should be meticulously documented, referencing previous correspondence and any additional steps you’ve taken since your initial request.
- Negotiating delisting may also involve addressing any additional concerns or requirements posed by the administrators. Be prepared to provide further information or clarification on your email practices and security measures.
Remember, this step is not just about getting delisted. It’s also about establishing a sustainable relationship with the blacklist authorities. Take this as an opportunity to showcase your domain or IP as a credible and responsible entity in the digital communication space. If all goes well, you’ve paved the way for smoother email operations and enhanced domain reputation in the long run
Step 5: Monitor after removal and ensure compliance
The final phase in the delisting process shifts the focus towards vigilant monitoring and ensuring ongoing compliance. This stage is crucial because it solidifies the efforts made in previous steps, ensuring that the fruits of your labor are sustained over time.
Once you’ve successfully removed your domain from a blacklist, continuous monitoring becomes a cornerstone of your email strategy. Again, it’s not just avoiding being blacklisted again, but it’s about building a strong sender reputation in the eyes of blacklist administrators and your customers.
Some actionables you can add to your routine include:
- Regularly check your domain and IP against major blacklists to ensure that no new listings occur.
- Employ automated monitoring tools as they offer real-time alerts if your domain or IP is flagged again.
Post-removal, continuous monitoring becomes a cornerstone of your email strategy. This involves regularly checking your domain and IP against major blacklists, ensuring that no new listings occur. Employing automated monitoring tools can be highly beneficial here, offering real-time alerts if your domain or IP is flagged again. This proactive approach allows you to respond swiftly to potential issues before they escalate.
Stay one step ahead with preventive measures and Warmy.io

Warmup services gradually increase the volume of emails sent from a new IP address, helping to establish a reputation as a legitimate email sender.
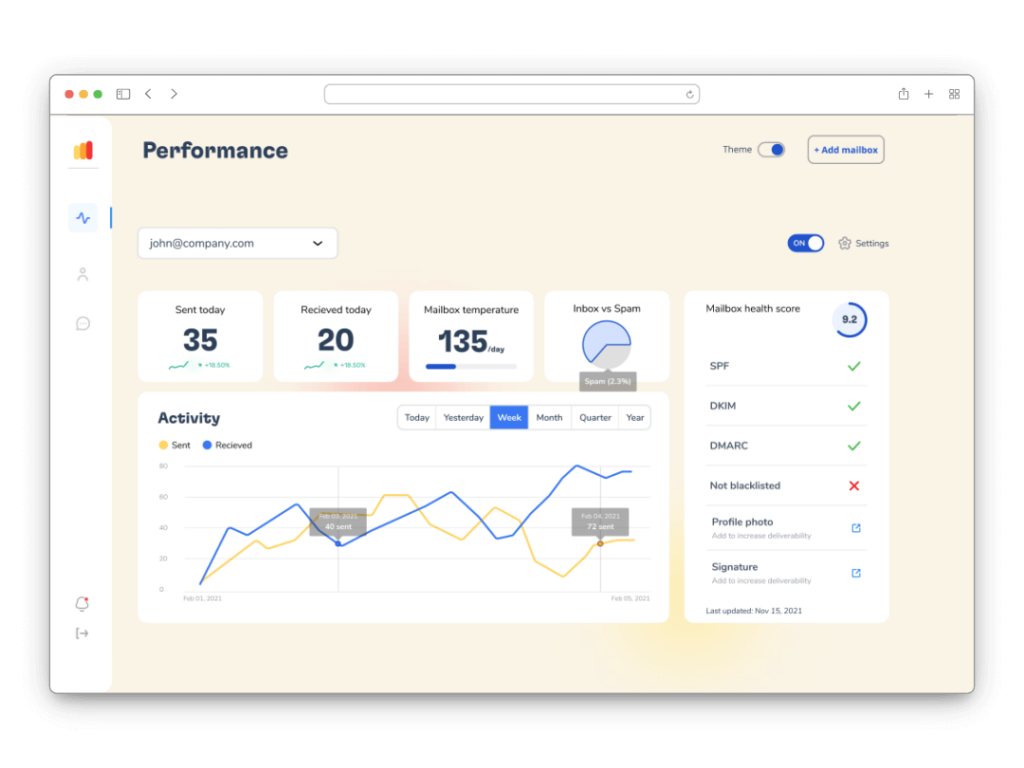
Warmy.io, for example, intelligently automates this process. It sends emails to a network of recipients who interact with these emails—signaling to ISPs (Internet Service Providers) that the sender is trustworthy.
This approach is particularly crucial for new domains or for those who change their email service provider. Since this process helps in building a positive sender reputation, it reduces the likelihood of being marked as spam. By proactively adopting these measures, you not only avert the risks associated with blacklisting but you also enhance the overall health and performance of your email marketing strategy.
Warmy stands at the forefront of enhancing email deliverability, with its innovative warming-up process designed to substantially boost the sender’s reputation. By meticulously increasing email sending volumes and ensuring positive engagement, Warmy effectively shields clients from the risk of blacklists. This proactive approach edges deliverability levels tantalizingly close to the 100% mark.
Beyond the automated processes, Warmy’s team of deliverability specialists provides tailored support, fine-tuning mailbox settings to optimize performance. Their expertise illuminates the path to peak deliverability and ensures that all client concerns are met with insightful, actionable answers.
With Warmy, achieving near-perfect deliverability is not just an aspiration—it’s an attainable reality.
Get back on track: restore your email reputation and improve deliverability
If there’s one major takeaway from this article, it’s this: removing your domain or IP from a blacklist is essential for keeping your email communications effective and reliable. By following the five-step process discussed above, you can resolve issues and restore your sender reputation.
But delisting is just the beginning. Maintaining a strong sender reputation is key to long-term success. With Warmy.io, you can monitor your email health, prevent future blacklisting, and ensure your messages consistently land in the inbox.
Take control of your email health with Warmy.io. Start optimizing your deliverability today. You can sign up for a free trial first to experience it yourself.
FAQ
Why does an email domain or IP get blacklisted?
Spam, sending multiple emails at once, sending to too many unknown destinations or being used to send malware get this domain and IPs blacklisted.
How can I check if my domain or IP is blacklisted?
Use free email deliverability test tools online. These tools allow you to check if your domain or IP is blacklisted across multiple blacklists.
How do I get my domain or IP removed from a blacklist?
The procedure involves five steps: Finding the blacklists, fixing the problems, reaching out to the blacklisters for removal, following up and negotiating delisting, and monitoring post-removal to ensure compliance.
How long does it take to get delisted from a blacklist?
Duration varies on the blacklist and the reason for the blacklist. It can range from a few days to a few weeks.
Are there any tools that can help prevent future blacklisting?
Yes, email warm-up services like Warmy.io and implementing stringent email security protocols can help prevent future blacklisting.
Can changing my email service provider help in avoiding blacklisting?
Changing providers can help if the issue is linked to the provider's network reputation. However, it's important to address any underlying issues in your email practices to avoid future blacklisting.
How often should I check for blacklisting?
Regular monitoring is crucial. Monthly checks are recommended, or more frequently if you send high volumes of email.
What are SPF, DKIM, and DMARC, and how do they relate to email blacklisting?
SPF, DKIM, and DMARC are email authentication methods that help verify that an email is from a legitimate source. Proper implementation of these can improve your email deliverability and reduce the risk of being blacklisted.


